# Changelog
Source: https://docs.cycls.com/changelog
Product updates and announcements
* Cycls is now open-source [GitHub](https://github.com/Cycls/cycls).
* Use `agent.run()` to serve an agent locally and `agent.push()` to deploy it to the Cycls cloud.
* Use `@agent()` decorator to define agent configuration, including `pip`/`apt` dependencies and authentication rules, directly within a Python script.
* All deployed agents now automatically serve a streaming, OpenAI-compatible `/chat/completions` API endpoint.
* Auto generated, customizable web chat UI for every agent.
* Built-in user and context management to enable the creation of stateful, multi-turn agents.
# Agent
Source: https://docs.cycls.com/core-concepts/agent
Learn how to define, configure, and run your Cycls agent
## The Agent Object
The `cycls.Agent()` is the main class that holds all configuration for your AI agent. It manages dependencies, authentication, deployment settings, and the overall behavior of your agent.
### Initialization
Create an agent by initializing the `cycls.Agent()` class:
```python
import cycls
# Basic agent for local development
agent = cycls.Agent()
# Production agent with dependencies and configuration
agent = cycls.Agent(
pip=["openai", "requests"],
keys=["ak-", "as-"],
copy=["data"]
)
```
### Parameters
Cycls cloud authentication keys. Required for cloud deployment.
Python package dependencies to install. List all required pip packages your agent needs.
System-level dependencies to install via apt. Use for system packages like ffmpeg, imagemagick, etc.
Local files or directories to include with your agent. Can include config files, data folders, custom themes, or any local assets.
The API key for accessing your agent through the chat completions endpoint. Used for agent-level authentication.
The organization name the agent is registered to for authentication purposes.
Custom theme path or UI configuration. Use to override the default web interface with your own design.
### Example Configuration
```python
agent = cycls.Agent(
pip=["openai"], # Python dependencies
keys=["ak-", "as-"], # Required for cloud deployment
front_end="my_theme", # Optional custom UI
copy=[".env", "data", "tools.py", "my_theme"], # Local files to include
api_token="sk-0123456789" # Agent API key
)
```
## The @agent Decorator
The `@agent()` decorator registers your function as an agent and configures its behavior:
```python
# Basic agent
@agent()
async def my_agent(context):
return "Hello, world!"
# Agent with custom configuration
@agent("my-agent", auth=True)
async def authenticated_agent(context):
return "Hello, authenticated user!"
# Agent with UI customization
@agent("health-assistant", header=header, intro=intro, domain="health.ai")
async def health_agent(context):
return "I'm your health assistant!"
```
### Decorator Parameters
The name of your agent. Accepts only letters and numbers as it becomes part of the domain URL. Must follow domain naming rules.
Enable JWT authentication for the agent. When True, users must authenticate to access the agent.
Custom domain for your agent. Use to deploy your agent on a custom domain instead of the default cycls.ai subdomain.
HTML/TailwindCSS string for the header section of your agent's web UI. Use to customize the top portion of the interface.
HTML/TailwindCSS string for the introduction section of your agent's web UI. Use to customize the welcome message and suggested questions.
### UI Customization Example
```python
# Define custom header and intro
header = """
My Custom Agent
Welcome to my specialized AI assistant!
"""
intro = """
Introduction
"""
# Use in decorator
@agent("my-agent", auth=True, header=header, intro=intro, domain="my-domain.ai")
async def custom_agent(context):
return "Hello from my custom agent!"
```
## Run or Push the Agent
### Local Development
Use `agent.run()` to start a local development server:
```python
# Default port (8000)
agent.run()
# Custom port
agent.run(port=9000)
```
The port number for the local development server. Default value is 8000.
The local server provides:
* Hot-reloading for rapid development
* Web UI at `http://127.0.0.1:port`
* Real-time debugging and testing
### Cloud Deployment
Use `agent.push()` to deploy your agent to the cloud:
[Subscribe to the Professional Plan](https://billing.cycls.com/buy/ab1a09bf-9c4a-4f1d-aaf3-1d53d1c64ab1) to get your deployment keys and start deploying your agents to production.
```python
# Development mode (default)
agent.push() # Deploys to dev environment
# Production mode
agent.push(prod=True) # Deploys to production with public URL
```
Deploy to production environment. When true, generates a public URL. When false (default), deploys to development environment. Default value is False.
**How Deployment Works:**
* Your agent is packaged into a container with all dependencies
* The container runs on Cycls cloud infrastructure
* Automatic scaling handles traffic spikes
* Global CDN ensures fast response times worldwide
**Development Mode** (`prod=False`):
* Agent runs in development environment
* No public URL generated
* Used for testing and staging
**Production Mode** (`prod=True`):
* Agent deploys to production environment
* Public URL generated (e.g., `your-agent.cycls.ai`)
* Live and accessible to users
# Agent API
Source: https://docs.cycls.com/core-concepts/agent-api
Learn how to interact with your deployed agent via the OpenAI-compatible chat completion API
## Overview
Once your agent is deployed to the Cycls cloud platform, it automatically exposes an OpenAI-compatible chat completion API. This allows you to integrate your agent into any application that supports OpenAI's API format.
## Enabling the API
To activate the chat completion API for your agent, you must define an `api_token` in your Agent configuration:
```python
import cycls
agent = cycls.Agent(
pip=["openai", "requests"],
keys=["ak-", "as-"],
api_token="sk-proj-1234567890" # Required for API access
)
@agent("my-agent")
async def my_agent(context):
return "Hello from my agent!"
agent.push(prod=True)
```
### API Token Configuration
The API key required to access your agent through the chat completions endpoint. This token is used for agent-level authentication and must be included in API requests.
## API Endpoint
Your deployed agent exposes a chat completion endpoint at:
```
POST https://your-agent.cycls.ai/chat/completions
```
### Request Format
The API follows the OpenAI chat completion format:
```json
{
"model": "my-agent",
"messages": [
{"role": "user", "content": "Hello, how are you?"}
],
"stream": false,
"temperature": 0.7,
"max_tokens": 1000
}
```
### Response Format
```json
{
"id": "chatcmpl-123",
"object": "chat.completion",
"created": 1677652288,
"model": "my-agent",
"choices": [
{
"index": 0,
"message": {
"role": "assistant",
"content": "Hello! I'm doing well, thank you for asking. How can I help you today?"
},
"finish_reason": "stop"
}
],
"usage": {
"prompt_tokens": 9,
"completion_tokens": 15,
"total_tokens": 24
}
}
```
## Authentication
Include your API token in the request headers:
```bash
curl -X POST https://your-agent.cycls.ai/chat/completions \
-H "Content-Type: application/json" \
-H "Authorization: Bearer sk-proj-1234567890" \
-d '{
"model": "my-agent",
"messages": [
{"role": "user", "content": "Hello!"}
]
}'
```
## Using the OpenAI SDK
You can use the official OpenAI Python SDK to interact with your agent:
```python
import openai
# Configure the client to use your agent
client = openai.OpenAI(
api_key="sk-proj-1234567890",
base_url="https://my-agent.cycls.ai"
)
# Send a message to your agent
response = client.chat.completions.create(
model="my-agent",
messages=[
{"role": "user", "content": "What can you help me with?"}
]
)
print(response)
```
Streaming is enabled by default and depends on your agent's implementation. If your agent supports streaming, responses will be returned as real-time chunks:
Streaming behavior depends on your agent's implementation. Some agents may not support streaming and will return complete responses instead.
````
## JavaScript/Node.js Example
```javascript
import OpenAI from 'openai';
const openai = new OpenAI({
apiKey: 'sk-proj-1234567890',
baseURL: 'https://my-agent.cycls.ai'
});
const response = await openai.chat.completions.create({
model: 'my-agent',
messages: [
{ role: 'user', content: 'Hello from JavaScript!' }
]
});
console.log(response.choices[0].message.content);
````
## Conversation History
The API maintains conversation context automatically. Each request includes the full conversation history:
```python
import openai
client = openai.OpenAI(
api_key="sk-proj-1234567890",
base_url="https://my-agent.cycls.ai"
)
# First message
response1 = client.chat.completions.create(
model="my-agent",
messages=[
{"role": "user", "content": "My name is Alice"}
]
)
# Follow-up message (includes previous context)
response2 = client.chat.completions.create(
model="my-agent",
messages=[
{"role": "user", "content": "My name is Alice"},
{"role": "assistant", "content": response1.choices[0].message.content},
{"role": "user", "content": "What's my name?"}
]
)
```
## Error Handling
The API returns standard HTTP status codes:
* `200`: Success
* `400`: Bad Request (invalid parameters)
* `401`: Unauthorized (invalid API token)
* `429`: Rate Limited
* `500`: Internal Server Error
```python
import openai
from openai import OpenAIError
client = openai.OpenAI(
api_key="sk-proj-1234567890",
base_url="https://my-agent.cycls.ai"
)
try:
response = client.chat.completions.create(
model="my-agent",
messages=[
{"role": "user", "content": "Hello!"}
]
)
print(response.choices[0].message.content)
except OpenAIError as e:
print(f"Error: {e}")
```
# Agent UI
Source: https://docs.cycls.com/core-concepts/agent-ui
Learn how to customize your agent's web interface and create generative UI
## Overview
Every agent comes with a beautiful web UI out of the box. The interface is fully customizable and supports both static customization (header/intro) and dynamic generative UI that can render arbitrary HTML and TailwindCSS.
## Default Web UI
When you deploy your agent, it automatically gets a web interface accessible at your agent's URL. The default UI includes:
* **Chat Interface**: A modern, responsive chat interface
* **Message History**: Automatic conversation history management
* **Real-time Streaming**: Support for streaming responses
* **Mobile Responsive**: Works seamlessly on all devices
* **Auto RTL Support**: The UI automatically detects and supports right-to-left (RTL) languages for proper display and alignment
## Header and Intro Customization
You can customize the header and introduction sections of your agent's web UI using HTML and TailwindCSS:
```python
import cycls
# Initialize the agent
agent = cycls.Agent()
header = """
🚀 This is a Header
"""
intro = """
this is an intro
"""
# Decorate your function to register it as an agent
@agent(header=header, intro=intro)
async def my_agent(context):
return "Hello, world!"
agent.run()
```
### Customization Parameters
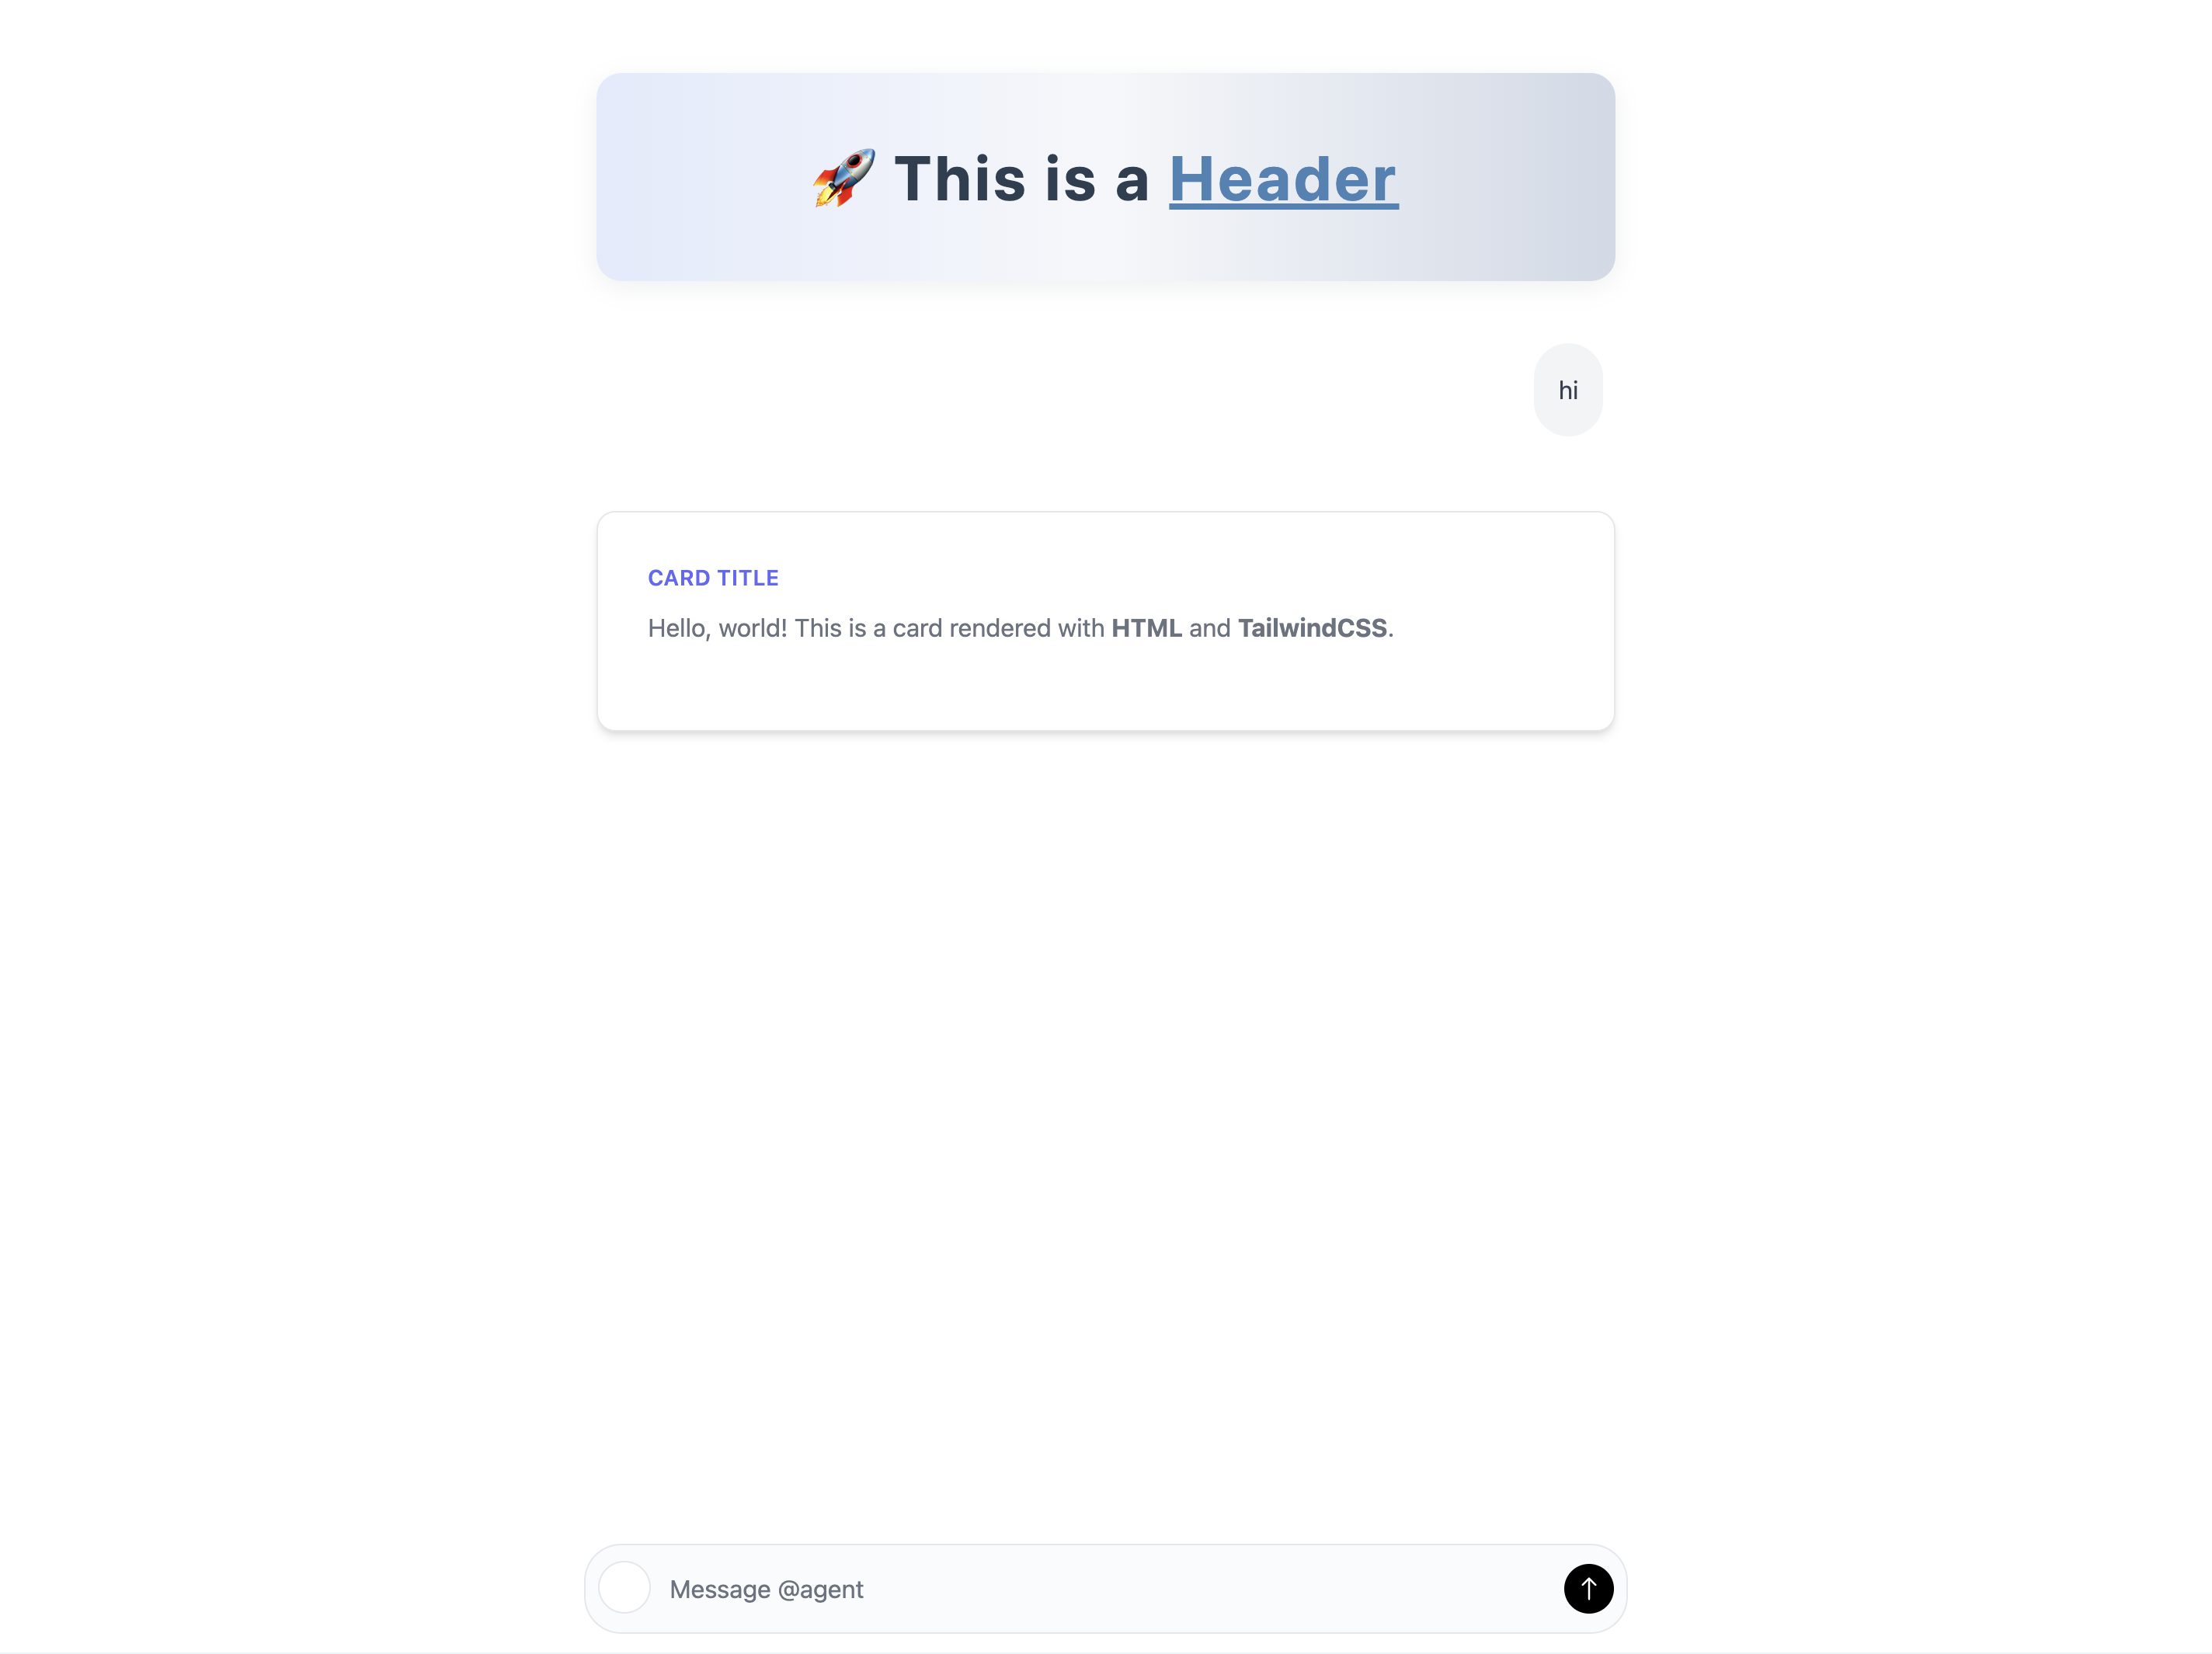
HTML/TailwindCSS string for the header section of your agent's web UI. Use to customize the top portion of the interface. Must be wrapped in `` tags.
HTML/TailwindCSS string for the introduction section of your agent's web UI. Use to customize the welcome message and suggested questions.
### Styling Guidelines
* **HTML Support**: Full HTML5 support with inline styles
* **TailwindCSS**: Complete TailwindCSS framework available
* **Raw Tags**: Wrap custom HTML in `` tags to prevent escaping
* **Responsive Design**: Use TailwindCSS responsive classes for mobile compatibility
## Clickable Links
You can create clickable links that automatically send encoded text to the chat when clicked. This is useful for providing suggested questions or actions:
```python
import cycls
# Initialize the agent
agent = cycls.Agent()
header = """
🚀 This is a Header
"""
intro = """
Welcome! Here are some things you can ask me:
- [What can you help me with?](https://cycls.com/send/${encodeURIComponent("What can you help me with?")})
- [Tell me about your features](https://cycls.com/send/${encodeURIComponent("Tell me about your features")})
- [Show me an example](https://cycls.com/send/${encodeURIComponent("Show me an example")})
"""
# Decorate your function to register it as an agent
@agent(header=header, intro=intro)
async def my_agent(context):
return """- [this a link](https://cycls.com/send/${encodeURIComponent("this is a link")})"""
agent.run()
```
### Link Format
The clickable link format follows this pattern:
```
[Link Text](https://cycls.com/send/${encodeURIComponent("Text to send to chat")})
```
### Use Cases
* **Suggested Questions**: Provide common questions users might ask
* **Quick Actions**: Create shortcuts for frequent tasks
* **Navigation**: Guide users through different conversation paths
* **Examples**: Show users what they can ask about
## Generative UI
The default chat UI can render arbitrary HTML and TailwindCSS in responses. This enables you to create rich, interactive interfaces:
```python
import cycls
# Initialize the agent
agent = cycls.Agent()
header = """
🚀 This is a Header
"""
intro = """
this is an intro
"""
# Decorate your function to register it as an agent
@agent(header=header, intro=intro)
async def my_agent(context):
return """
Card Title
Hello, world! This is a card rendered with HTML and TailwindCSS.
"""
agent.run()
```
### Generative UI Tips
* **Progressive Enhancement**: Start with simple text, add rich UI gradually
* **Context Awareness**: Use conversation context to generate relevant UI
* **Error Handling**: Provide fallback content for failed UI generation
* **Testing**: Test your generative UI across different devices and browsers
## Custom Themes
For advanced customization, you can create your own custom UI themes:
### Using Custom Themes
```python
import cycls
agent = cycls.Agent(
pip=["openai", "requests"],
keys=["ak-", "as-"],
front_end="my_theme" # Custom theme directory
)
@agent("my-agent")
async def my_agent(context):
return "Hello from custom theme!"
agent.push(prod=True)
```
### Theme Structure
Your custom theme should include:
```
my_theme/
├── index.html # Main HTML template
├── styles.css # Custom styles
├── script.js # Custom JavaScript
└── assets/ # Images, fonts, etc.
├── logo.png
└── favicon.ico
```
### Building Custom Themes
1. **Create Theme Directory**: Set up your theme files
2. **Build Process**: Compile your frontend (React, Vue, etc.)
3. **Include in Agent**: Add the theme directory to your agent configuration
4. **Deploy**: The custom theme will be used instead of the default UI
## Mobile and API Integration
### Mobile Applications
Use the chat completion API to integrate your agent into mobile apps or any interface:
```python
# Your agent provides an OpenAI-compatible API
# Mobile apps can use the standard OpenAI SDK
import openai
client = openai.OpenAI(
api_key="sk-proj-1234567890",
base_url="https://my-agent.cycls.ai"
)
response = client.chat.completions.create(
model="my-agent",
messages=[
{"role": "user", "content": "Hello from mobile app!"}
]
)
```
### Custom Frontend Applications
Build your own frontend and connect to your agent's API:
```javascript
// React, Vue, Angular, or any frontend framework
const response = await fetch('https://my-agent.cycls.ai/chat/completions', {
method: 'POST',
headers: {
'Content-Type': 'application/json',
'Authorization': 'Bearer sk-proj-1234567890'
},
body: JSON.stringify({
model: 'my-agent',
messages: [
{ role: 'user', content: 'Hello from custom frontend!' }
]
})
});
```
# Context
Source: https://docs.cycls.com/core-concepts/context
Learn how to work with conversation data and user information
## The Context Object
The `context` parameter provides access to conversation data and user information in your agent functions:
```python
@agent("my-agent",auth=True)
async def my_agent(context):
# Access conversation history
user_info= context.user
messages = context.messages
yield f"user_info: {user_info}"
yield f"\n\n messages: {messages}"
agent.push()
```
### Context Properties
The conversation history in OpenAI format. Contains all previous messages in the conversation.
User information object. Only available when authentication is enabled and the agent is running on Cycls cloud.
### Message Format
The `context.messages` follows the OpenAI message format:
```python
[
{"role": "user", "content": "Hello"},
{"role": "assistant", "content": "Hi there!"},
{"role": "user", "content": "How are you?"}
]
```
### Working with Messages
```python
@agent()
async def conversation_agent(context):
# Get the latest user message
latest_message = context.messages[-1]["content"]
# Get all user messages
user_messages = [msg for msg in context.messages if msg["role"] == "user"]
# Get conversation length
message_count = len(context.messages)
return f"Last message: {latest_message}"
```
### The User Object
When authentication is enabled, you can access user information through `context.user`:
The user object is only available when the agent is running on Cycls cloud. It will not be available during local development with `agent.run()`.
```python
@agent("my-agent", auth=True)
async def user_agent(context):
# Access user information
user_id = context.user.id
user_name = context.user.name
user_email = context.user.email
user_org = context.user.org
user_plans = context.user.plans
return f"Hello, {user_name}!"
```
### User Object Properties
The unique identifier for the authenticated user.
The user's display name.
The user's email address.
The user's organization name.
Array of the user's subscription plans and permissions.
### Working with User Data
```python
@agent("my-agent", auth=True)
async def personalized_agent(context):
# Check user's subscription
if "pro" in context.user.plans:
return "Welcome back, Pro user!"
# Use user's organization
if context.user.org == "Acme Corp":
return "Welcome to the Acme Corp team!"
# Personalize response
return f"Hello, {context.user.name}! How can I help you today?"
```
## Authentication Requirements
### Enabling Authentication
To access user data, you must enable authentication in your agent:
```python
# In decorator
@agent("my-agent", auth=True)
async def authenticated_agent(context):
return f"Hello, {context.user.name}!"
```
### Authentication Flow
1. **User Authentication**: Users must provide a JWT token
2. **Token Validation**: Cycls validates the token and extracts user data
3. **User Object**: The `context.user` object contains the decoded user information
4. **Agent Access**: Your agent can now access personalized user data
# Overview
Source: https://docs.cycls.com/get-started/overview
The distribution SDK for AI agents
Run your hello world agent in 2 minutes.
Explore step-by-step guides to build your first AI agent.
## Introduction
[Cycls](https://github.com/Cycls/cycls) is **an open-source distribution SDK for AI**. It's a zero-config platform designed to help you build, publish, and scale AI agents with unparalleled speed. With a single Python decorator and one command, you can transform your code into a user-ready product, complete with a front-end UI and an OpenAI-compatible API.
Cycls goal is to let a **single person** innovate and ship a complete, user-facing AI agent without worrying about deployment and distribution.
## Cycls Design Philosophy
We believe you should focus on creating innovative revenue-generating AI agents, not on configuring deployment pipelines. Cycls is built on a simple premise: **Cycls handle distribution, so you can focus on innovation.**
Our zero-config approach makes your Python script the single source of truth for your agent. There are no YAML files, no Dockerfiles, and no complex configurations to manage. When your code is the only thing you need, you can:
* **Iterate Faster:** The self-contained nature of a Cycls agent encourages a rapid, iterative workflow with your own models, frameworks, and libraries. This is called building in cycls.
* **Ship with Confidence:** By removing complex abstractions, Cycls reduce the surface area for errors and simplify the path to production.
* **Accelerate with AI:** The simplicity of our SDK makes Cycls code exceptionally friendly for LLMs to generate, helping you move from concept to code even faster.
## How It Works
The developer experience is designed to be seamless, moving from local testing to global deployment without friction.
1. **Write**: Implement your core logic in a standard Python function. This is where you bring your own models, frameworks, and libraries. Cycls is unopinionated, so you can use any tool you love.
2. **Decorate**: Use the `@agent()` decorator to register your function. This is where you declaratively define dependencies, secrets, and authentication rules directly in Python.
3. **Run Locally**: Run `agent.run()` in your terminal to spin up a local server with hot-reloading. You can immediately interact with your agent's web UI at `http://127.0.0.1:8000`.
4. **Push to Cloud**: Run `agent.push()` to deploy your agent to the Cycls cloud platform. Cycls automatically handle packaging, dependencies, and provisioning, making your agent live on a public URL in seconds.
## Key Features
Cycls is designed to accelerate your workflow with powerful, developer-first features:
* **Work with Your Stack:** Bring your own models, libraries, and frameworks. If it runs in Python, it runs on Cycls.
* **OpenAI-Compatible API:** Automatically serve a streaming `/chat/completions` endpoint out of the box.
* **Customizable Web UI:** Instantly get a clean, customizable front-end for your agent.
## Cycls Cloud
Cycls offers a hosted version. Use `agent.push()` to deploy your agent to [Cycls cloud](https://billing.cycls.com/buy/ab1a09bf-9c4a-4f1d-aaf3-1d53d1c64ab1).
### Cycls Cloud Key Features
* **Quick Zero-Config Deployment:** Run locally for instant testing, then deploy to a serverless cloud with a single command.
* **Built-in Authentication:** Secure your agent with JWT authentication using a single `auth=True` flag.
* **Declarative Dependencies:** Define `pip`, `apt`, and local file dependencies directly within your Python script.
* **Subscription Management:** Manage user subscriptions and billing through the Cycls platform.
## Start Building
Ready to build your first agent? Check out our [Quickstart](/get-started/quickstart) guide to create your first AI application in under 2 minutes.
Or check out the [guide to build your first LLM agent](/guides/llm-agent) for a step-by-step walkthrough.
# Quickstart
Source: https://docs.cycls.com/get-started/quickstart
Run Your AI agent in minutes
Get your first agent running in under 2 minutes.
Let's create an agent that streams back the message "hi". This will introduce you to the fundamental concepts of local development with Cycls.
Prerequisites: Python 3.8 or higher
## 1. Installation
Get started by installing Cycls using pip.
```bash
pip install cycls
```
## 2. Build Your Agent
Create a file named `agent.py` and add the following code:
```python
import cycls
# Initialize the agent
agent = cycls.Agent()
# Decorate your function to register it as an agent
@agent()
async def hello(context):
yield "hi"
# Run your agent locally
agent.run()
```
## 3. Run Your Agent
Now let's test your agent locally. Run the file from your terminal:
```bash
python agent.py
```
This starts a local development server. You'll see output similar to this:
```bash
INFO: Uvicorn running on http://127.0.0.1:8000 (Press CTRL+C to quit)
```
Open your browser to `http://127.0.0.1:8000`. You'll see a ready-to-use web UI where you can interact with your agent instantly.
## Next Steps
Congratulations! You've successfully built and tested your first agent locally. Here are suggested next steps to enhance your agent:
Learn how to integrate OpenAI's GPT models to create intelligent conversational agents that can understand context and provide helpful responses.
Explore agent configuration options including dependencies, authentication, deployment settings, and custom UI themes.
Learn how to access conversation history, user information, and build more sophisticated agents that remember previous interactions.
Push your agent to Cycls cloud to make it available worldwide with authentication, and scaling capabilities.
## Troubleshooting
If you encounter issues during the setup process, check these common troubleshooting solutions:
Make sure you have Python 3.8+ installed and all dependencies are properly installed. Check that your `agent.py` file has the correct syntax and the `agent.run()` call is at the bottom of the file.
The default port 8000 might be occupied. You can specify a different port by modifying the `agent.run()` call or stopping other services using that port.
Ensure you've installed Cycls with `pip install cycls`. If you're using additional dependencies, make sure they're installed in your Python environment.
Verify the server is running and check the URL in your browser. Make sure you're using `http://127.0.0.1:8000` and that no firewall is blocking the connection.
# LLM Agent
Source: https://docs.cycls.com/guide/llm-agent
build your first AI agent powered by OpenAI's GPT models
## Overview
This guide shows you how to build an AI agent powered by OpenAI's GPT models. You'll learn how to integrate the OpenAI SDK with Cycls to create intelligent conversational agents that can understand context and provide helpful responses.
## Prerequisites
Before starting, make sure you have:
* **OpenAI API Key**: Get your API key from [OpenAI Platform](https://platform.openai.com)
* **Cycls Account**: Set up your Cycls account for cloud deployment
* **Python Environment**: Python 3.8+ with pip installed
## Local Development
Let's start by building a simple LLM agent for local development:
### Step 1: Basic Setup
```python
import cycls
from openai import AsyncOpenAI
# Initialize agent for local development
agent = cycls.Agent()
# Initialize OpenAI client outside function (local development only)
client = AsyncOpenAI(api_key="YOUR_OPENAI_API_KEY")
# Simple LLM function using OpenAI
async def llm(messages):
response = await client.chat.completions.create(
model="gpt-4o",
messages=messages,
temperature=0.7,
stream=True
)
# Stream the response
async def event_stream():
async for chunk in response:
content = chunk.choices[0].delta.content
if content:
yield content
return event_stream()
# Register your agent
@agent("my-agent")
async def my_agent(context):
return await llm(context.messages)
# Run locally
agent.run()
```
### Step 2: Test Your Agent
1. **Start the server**: Run `agent.run()` in your terminal
2. **Open your browser**: Go to `http://127.0.0.1:8000`
3. **Test the conversation**: Try asking questions and see how your agent responds
### Step 3: Customize the Response
You can customize how your agent responds by modifying the LLM function:
```python
# Add system message for personality
system_message = {
"role": "system",
"content": "You are a helpful AI assistant. Be concise and friendly in your responses."
}
async def llm(messages):
# Combine system message with conversation history
full_messages = [system_message] + messages
response = await client.chat.completions.create(
model="gpt-4o",
messages=full_messages,
temperature=0.7,
max_tokens=500,
stream=True
)
async def event_stream():
async for chunk in response:
content = chunk.choices[0].delta.content
if content:
yield content
return event_stream()
```
## Cloud Deployment
Once you're satisfied with your local agent, deploy it to the cloud:
**Local vs Cloud Import Pattern**: In local development, you can import packages outside the function. For cloud deployment, all imports must be inside the function to avoid import errors. This applies to any package (OpenAI, requests, pandas, etc.).
### Step 1: Configure for Cloud
```python
import cycls
# Initialize agent with cloud configuration
agent = cycls.Agent(
pip=["openai"], # Include OpenAI package
keys=["YOUR_AGENT_KEY_1", "YOUR_AGENT_KEY_2"] # Cycls cloud keys
)
async def llm(messages):
# Import inside function to avoid import errors in cloud deployment
import os
from openai import AsyncOpenAI
# Load environment variables and initialize the client inside the function
api_key = os.getenv("OPENAI_API_KEY")
client = AsyncOpenAI(api_key=api_key)
model = "gpt-4o"
# Add system message for personality (inside function for cloud deployment)
system_message = {
"role": "system",
"content": "You are a helpful AI assistant. Be concise and friendly in your responses."
}
# Combine system message with conversation history
full_messages = [system_message] + messages
response = await client.chat.completions.create(
model=model,
messages=full_messages,
temperature=1.0,
stream=True
)
# Yield the content from the streaming response
async def event_stream():
async for chunk in response:
content = chunk.choices[0].delta.content
if content:
yield content
return event_stream()
@agent("my-agent", auth=False)
async def my_agent(context):
return await llm(context.messages)
agent.push()
```
### Step 2: Deploy to Production
```python
# Deploy to production with public URL
agent.push(prod=True)
```
## Best Practices
### API Key Security
* **Environment Variables**: Store your OpenAI API key in environment variables
* **Never Hardcode**: Avoid putting API keys directly in your code
* **Rotate Keys**: Regularly rotate your API keys for security
```python
import os
async def llm(messages):
from openai import AsyncOpenAI
# Use environment variable for API key
api_key = os.getenv("OPENAI_API_KEY")
client = AsyncOpenAI(api_key=api_key)
# ... rest of the function
```
### Performance Optimization
* **Streaming**: Always use streaming for better user experience
* **Token Limits**: Set appropriate `max_tokens` to control costs
* **Caching**: Consider caching frequent responses
* **Rate Limiting**: Implement rate limiting for production use
## Troubleshooting
### Common Issues
1. **Import Errors**: Always import OpenAI inside the function for cloud deployment
2. **API Key Issues**: Verify your OpenAI API key is valid and has sufficient credits
3. **Streaming Problems**: Ensure your function properly yields content
4. **Memory Issues**: Monitor token usage to avoid hitting limits
# llms.txt
Source: https://docs.cycls.com/llms
[https://docs.cycls.com/llms.txt](https://docs.cycls.com/llms.txt)
# llms-full.txt
Source: https://docs.cycls.com/llms-full
[https://docs.cycls.com/llms-full.txt](https://docs.cycls.com/llms-full.txt)
# Examples in cookbook
Source: https://docs.cycls.com/resources/examples
[https://github.com/Cycls/cookbook](https://github.com/Cycls/cookbook)
# Getting help
Source: https://docs.cycls.com/resources/getting-help
If you have any questions, issues, or feature requests, please reach out on of the following channels:
• Send us an email at [support@cycls.com](mailto:support@cycls.com)
• Open an issue on [our GitHub](https://github.com/Cycls/cycls-py)